Two weeks ago I finally got around to a project I've been dreaming of for months. With help from my da we turned this:

FREE second hand metal utility shelving rack :)
Into this:

Raised planter!
Over a year ago a friend gave the metal rack to me when he was cleaning out his garage. Originally I'd considered making it a greenhouse for seedlings, or just use it as nice shelves to set containers on ...but it'd been thickly painted after its first assembly and I couldn't get the pieces to budge. I didn't want shelves or a greenhouse I couldn't modify as necessary. So I repainted it from fire engine red to a calmer brown and set stuff on and under it while I decided what to do.
Finally the raised planter idea came. Da helped me get the lumber from a local place he used to use (he was a cabinet maker for decades). Rough sawn cedar. He was being contrary that day and bought it for me ;) Da picked it up when the order came in, John helped me unload at home and get things set up for us to start work.
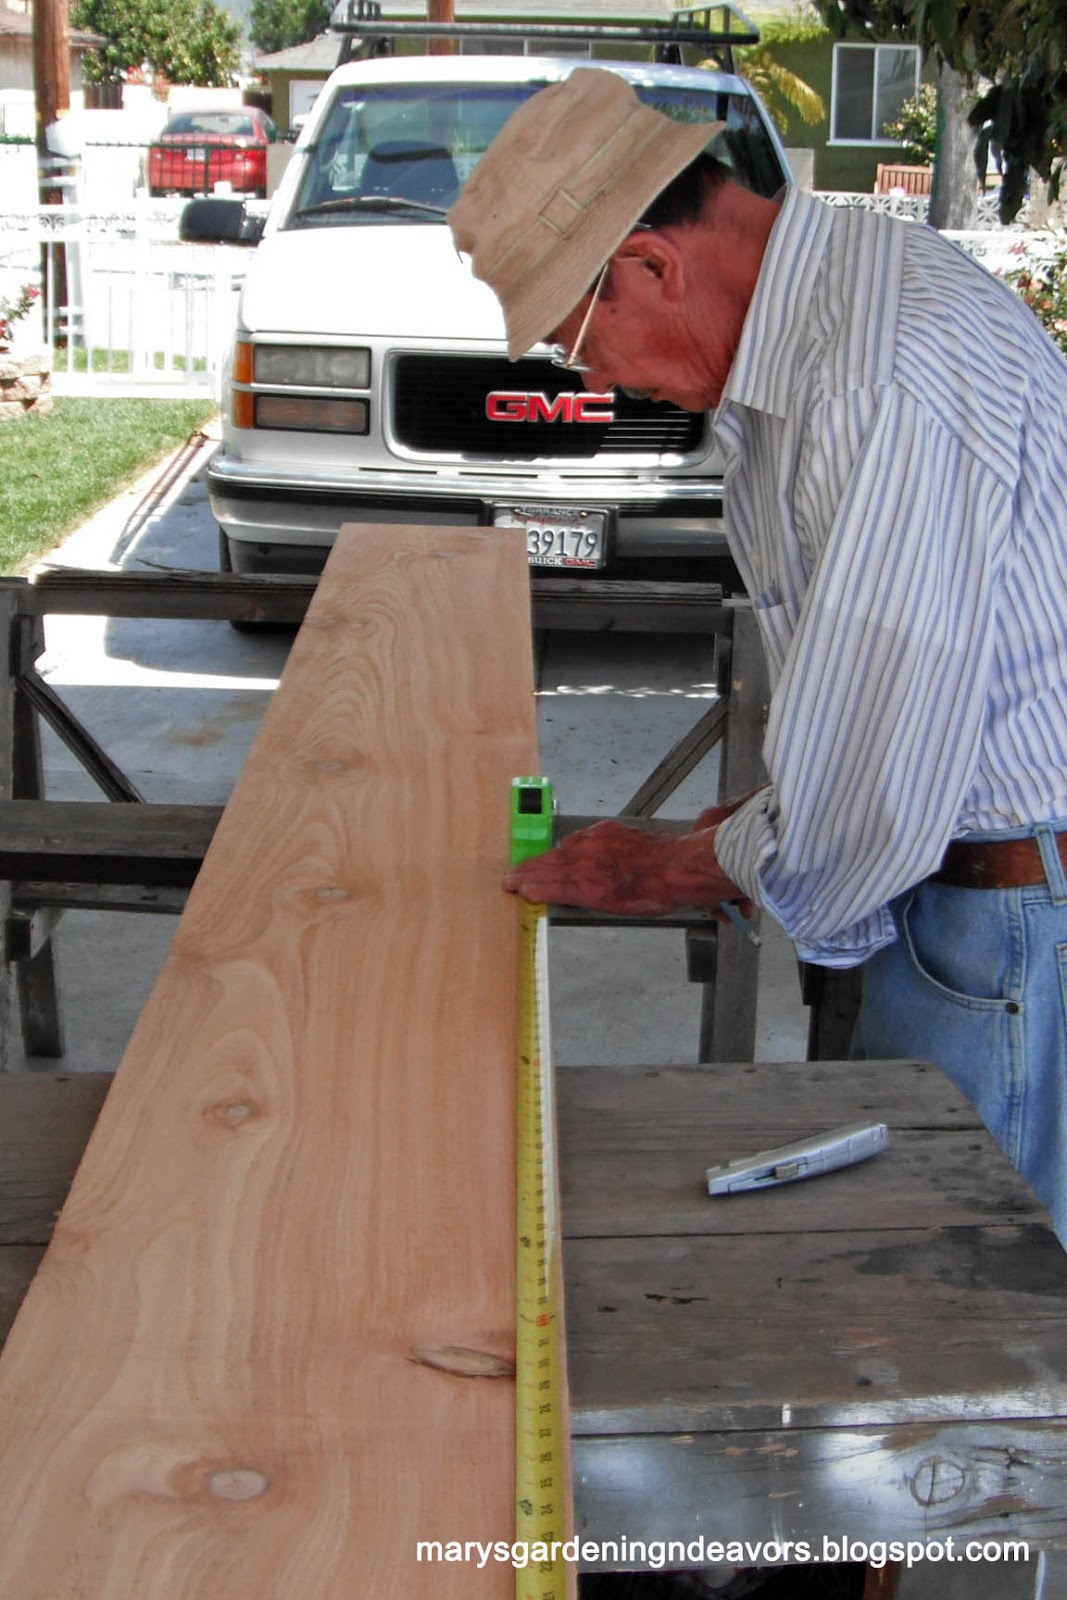
My dear Grumpy took over the project almost immediately.

I am always fascinated and frustrated watching him work.
(he does not like to let me play with use the power toys tools)

There's the bottom boards ready

Rough sawn is cheaper and I love the look, but it is not without hazzards :(

You can see the way the racks are put together makes the bottom boards slope inwards ... perfect for drainage! I cut a coconut basket liner in half and put that inside each end of the planter to keep the soil from spilling out. I also used an old cloth sheet scrap to line the drainage crack all along the bottom to keep the soil in.

And here's the completed planter!
The measuring, cutting and putting together took less than two hours! We had to split some boards, and re-cut boards by little increments to get them all to fit properly (the rack wasn't put together perfectly square). The front (long) boards were put in first, then the side (short) ones sandwiched between them at the ends. The L shape of the legs holds the sides up, and the pressure from the soil inside keeps them in place. We used ZERO screws or nails! (not counting the bits attaching the rack pieces that were already there). I thought about painting the outside with Earthsafe paints.... but I love the look of the raw wood :)
After all that was done I used E.B. Stone soil I bought with my Groupon to fill it, took six 20 qt. bags oh my! I used five of the Edna's Best Potting Soil and 1 Flower & Vegetable Soil, and mixed in a few cups of Kellog's organic vegetable fertilizer.

You can see that Felis catus "Oh So Helpful" did her part by keeping the bags from flying away
Then the fun part came. I transplanted four tomatoes (roots and stems buried 12" min!), three blue annual salvias, two akashiso, two kale Dwarf Blue and a Marvel of Four Seasons lettuce. A few days later I exchanged the kale with nasturtium Alaskas when I was that's a no-no mix in my companion planting guide. There is still some space left along the front. I might put basil or chives from the LotB community garden project there, or onions and carrots... We will see.
I also used some plant markers I found at Ikea for the tomatoes. They are nice, two for a dollar :) I used paint markers, which come off with rubbing alcohol for next season, to write the varieties.


I'm very happy with this project. Thanks Da!
*update*
Here's an October 2011 photo. The fall plants are growing in well, and the cast iron wall ornament I found at a yard sale completes it :)

I'm entering this project in the Not Just a Housewife's Best DIY Project of 2011 contest, please click the link below and vote for me!


