Showing posts with label free. Show all posts

Wednesday, June 22, 2011

Worms... :)

So, before the Ortho rant I had promised worms... Well here they are, my cheapo homemade worm bins :)


Just two 99 cent plastic (#2) shoebox container nestled inside each other. The top one has the bottom cut out to about 3/4" in from the sides. Two strips cut lengthwise from the removed plastic rectangle bridge the opening in the short direction for a bit of support. A piece of 1/4" metal mesh (hardware cloth - $12.99 and the leftovers made a screen for my regular compost bin)  with the cut ends folded over cover the opening in the bottom. (sorry, don't have a pic of the bottom of the top container)


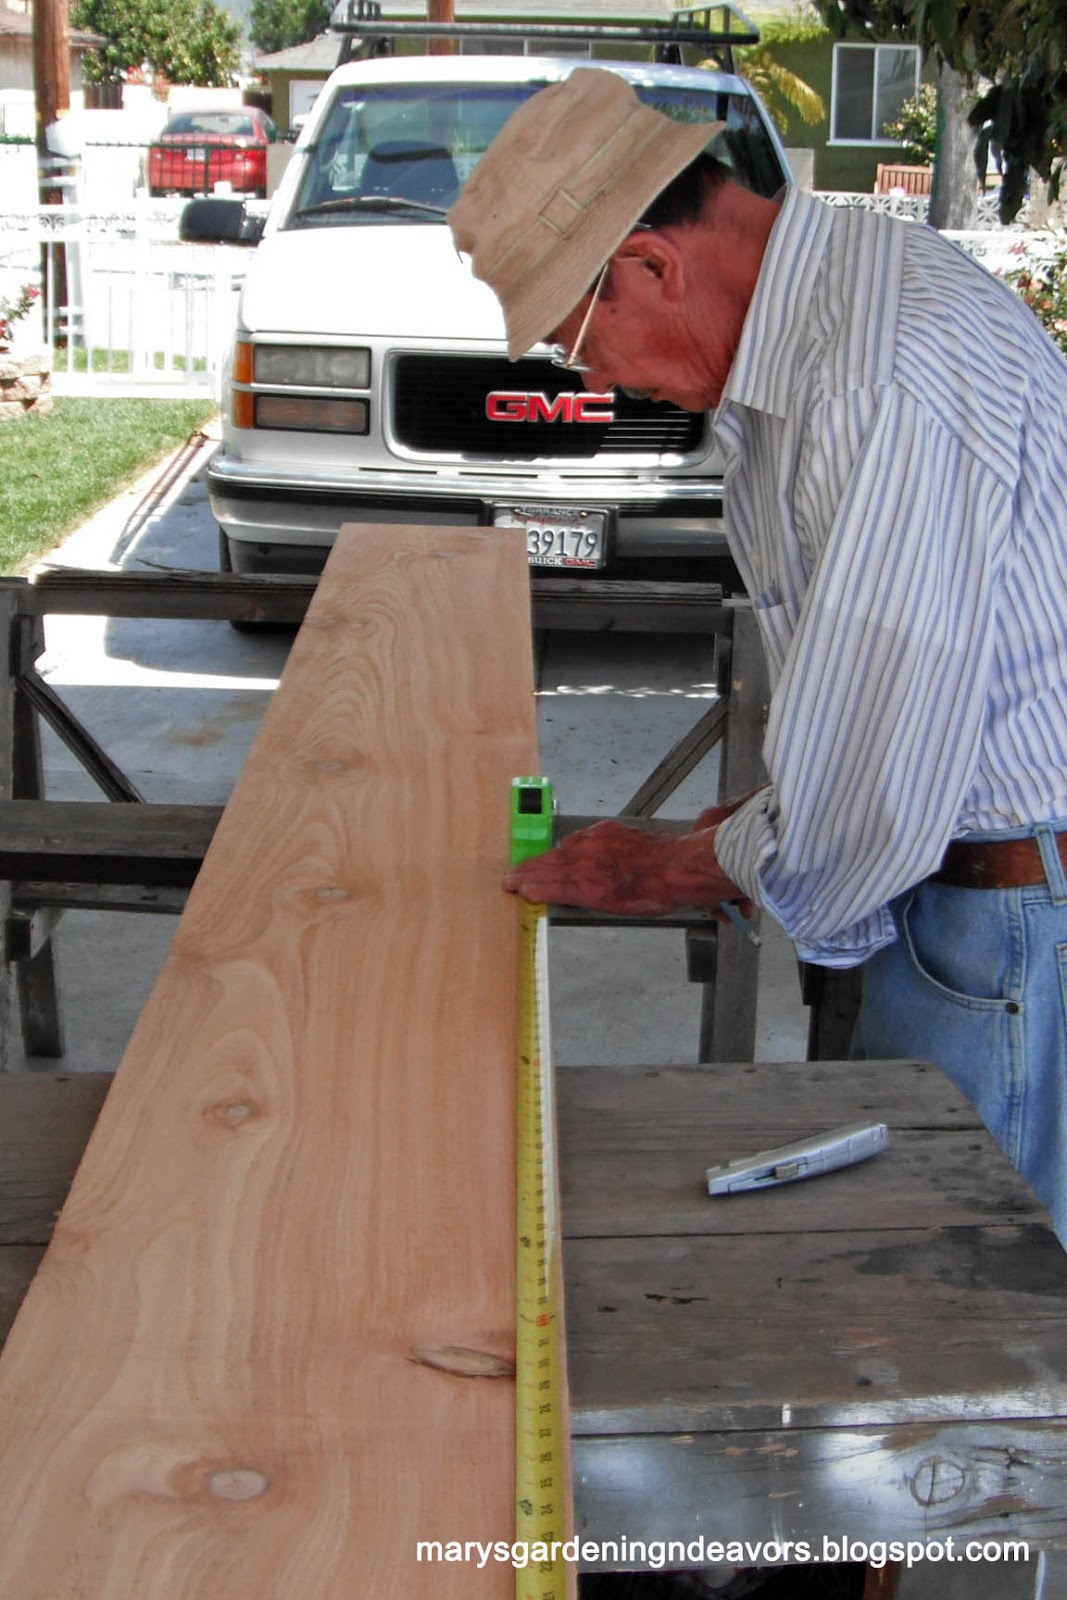
Here's the top container so you can see them better. The bottom container is to catch the worm leachate (pee) and other moisture dripping out. It can be used to fertilize plants too. I think I spent total about $15 buying the materials for these two containers (and part of the leftover is in use for the other composting bin) which sure as hell beats even the subsidized $60 commercial worms bins.

the two bits of broken terra cotta help keep the mesh from the container above from sagging onto the bottom

Originally there were layers of newspaper strips over the mesh to keep everything from falling into the bottom box. But my wonderful know-it-all worms ate it up and now their castings (poo) has been spilling from their feeding container above to the bottom one where I can easily scoop it up as needed. I put most of the worms back in the feeding container, but sometimes I put some of the big ones into my flower pots.

If the worms thrive and reproduce enough I may have to build larger bins at some point, but knowing how easy it is I think it will still be super cheap. For now I have a third container prepped to add whenever it's needed, and still have enough materials to build a fourth and maybe a fifth one of this size. I could have myself a deluxe worm penthouse :)

Originally I got a handful of worms from a gardener in Gardena (of all places) in summer 2010. The first few days they were just in a bucket with some dirt until I built the worms bins. I didn't really know what I was doing and at one point forgot to tend them for over a month. When I looked inside it was fairly dry and I thought for sure I'd killed them. So I let it all sit another month before I opened it up to use whatever castings there were and was astounded to find some worms still alive!

Well, that immediately got me to tending them properly. If those suckers had the will to live through my neglect I was gonna make an effort to keep them alive. And since then checking on them every day or so has become a fun habit and they still live. However, since I started with such a small batch of worms it would take a very long time for them to eat through any food. I got in the habit of putting scraps in the blender to make it easier for them. When I sorted through my regular compost bin or dug in the flower beds I'd save any red worms I found and add them to the worm bins. But there still weren't enough...

Recently I got a super boost to my worms when Archie's Garden gave me almost a full shoe box container full of worms & dirt from their vermicomposing setup. There were plenty of worms in there and they have made friends with my first worms (I hope) and now the bin colony is thriving! I've been giving them a good sized feeding about every two weeks, with a few little scraps in between. They seem to be keeping up with it.

Last Friday I collected a full cup of castings at once and made worm tea for my container garden :) The young seedlings and eager transplants really seemed to like it. When I was picking the worms out of the castings there were quite a few really tiny ones which I think means.... my worms have breeding!

*happiness*

Tuesday, May 24, 2011

The Discovery of Archie Jr.'s

 Last week I talked about Archie's Garden, when I got free worms and milkweed. Turns out those milkweed came with a bonus prize:


On May 8 while tending my seedlings to my great surpise there was an Archie Jr.!
As if things couldn't get any better, the next day I found...


Two monarch caterpillars at once - and we've never had any! I am extatic. Mother was less thrilled, her first reaction when I did the happy dance and "I got Archie's" song was "oh no, now you're naming caterpillars?". She was a bit cheerier when I explained why they are named Archie Jr and why they are so special, as well as making the promise that they don't come inside the house... (I accidentally brought a green one in with some salad greens last year and her reaction when I found it was rather hilarious)

Three days after discovery Archie Jr #1 has most definitely grown... Also, they each tried to stop my heart by disappearing for a day, but they each came back.

And by one week later:


Ok, at this point I was starting to have doubts about those Milkweed seedlings keeping up with the Archies. And those doubts turned out to be well founded because by the 15th they'd eaten one milkweed seedling bare of leaves and were working on the stem; and the other seedling triplet was only a degree better. Commence emergency nursery runs...

First I went to my local nursery: asked for milkweed, got a funny look, clarified "butterfly milkweed, butterfly bush" and got pointed to the only variety they had (and also picked up a purty columbine and echeveria because I am weak) only to discover a couple of hours later that the Archies weren't eating it... wrong butterfly bush. They gave me buddleja, similar common name, way wrong species :/ (I will be returning it, just haven't gotten around to it quite yet)

So I zoomed over to Home Depot because damnit, milkweed is popular now and it's blooming season and they ought to have it! But no, they don't. *&#%$^@!!!

And it was off to the International Garden Center (I could wander that place for hours... alas it is a bit pricey and reserved for special days *sigh*) where they're nicest little old guy happily showed me each of the milkweeds they had. Real milkweeds - Asclepias tuberosa (there was also a buddleja in bloom, thankfully I learned the first time though). I finally picked out the all yellow one first previewed in my Belated Bloom Day post. I also took home a blue annual dwarf delphinium *coughcough* for my mom of course.

And at home I wasted no time repotting that sucker and relocating the Archies!


Naturally a day after that one of them disappeared again... he has not come back yet `:( Then my remaining Archie Jr. started doing the Dracula here:


 He did the Dracula for 3 days straight. I thought he was going into crystalis mode, but no it was just a ruse. He started nibbling again...while I did battle with his cousins - the Fuzzy Terrors!

  You deplete my Kale, you get banished to the ornamentals in the front yard... :P

Anyway, last time I saw Archie Jr. he was still happily munching away his milkweed and getting super chubba. I didn't see him for a couple of day again, but then he reappeared this morning. I just wish he'd get to the crystalis stage so I can stop fussing over him!


 *sigh* I am a sucker for living critters.

Btw, the little milkweed seedlings look like they may acutally survive. The one that was eaten bare is trying to sprout new leaves, as are the other ones. Hoorah!


Monday, May 23, 2011

Southbay Gardeners

Hi there. So I've been exploring Folia which is another online gardening community. It has some similarities to the Dave's Garden website, but quite a bit more user friendly. There's the free subscription which so far seems very useful especially for new gardeners to keep track of things. There's also a few more bells and whistles if you want a paid subscription which is by a donation to the site for whatever you can afford ( I think I may actually do that next pay period).

Anyway, one of the reasons I started blogging about my green children is I want to connect with other gardeners, and especially others in my area. Because my growing climate is very different from most of the county and general advise can be confusing. I had found one gardening group near me on gardening, but their meetings have been kind of sporadic, and many of them quite a distance from me. On Folia I was able to make my own free group, and so I did. If you're in the LA check out Southbay Gardeners  :)


Tuesday, April 26, 2011

Project: Shelving Rack into Raised Planter

 Two weeks ago I finally got around to a project I've been dreaming of for months. With help from my da we turned this:
FREE second hand metal utility shelving rack :)

Into this:

Raised planter!

Over a year ago a friend gave the metal rack to me when he was cleaning out his garage. Originally I'd considered making it a greenhouse for seedlings, or just use it as nice shelves to set containers on ...but it'd been thickly painted after its first assembly and I couldn't get the pieces to budge. I didn't want shelves or a greenhouse I couldn't modify as necessary. So I repainted it from fire engine red to a calmer brown and set stuff on and under it while I decided what to do.

Finally the raised planter idea came. Da helped me get the lumber from a local place he used to use (he was a cabinet maker for decades). Rough sawn cedar. He was being contrary that day and bought it for me ;) Da picked it up when the order came in, John helped me unload at home and get things set up for us to start work.

 My dear Grumpy took over the project almost immediately.

 I am always fascinated and frustrated watching him work.
(he does not like to let me play with use the power toys tools)

There's the bottom boards ready

Rough sawn is cheaper and I love the look, but it is not without hazzards :(


You can see the way the racks are put together makes the bottom boards slope inwards ... perfect for drainage! I cut a coconut basket liner in half and put that inside each end of the planter to keep the soil from spilling out. I also used an old cloth sheet scrap to line the drainage crack all along the bottom to keep the soil in.

 And here's the completed planter!

The measuring, cutting and putting together took less than two hours! We had to split some boards, and re-cut boards by little increments to get them all to fit properly (the rack wasn't put together  perfectly square). The front (long) boards were put in first, then the side (short) ones sandwiched between them at the ends. The L shape of the legs holds the sides up, and the pressure from the soil inside keeps them in place. We used ZERO screws or nails! (not counting the bits attaching the rack pieces that were already there). I thought about painting the outside with Earthsafe paints.... but I love the look of the raw wood :)

After all that was done I used E.B. Stone soil I bought with my Groupon to fill it, took six 20 qt. bags oh my! I used five of the Edna's Best Potting Soil and 1 Flower & Vegetable Soil, and mixed in a few cups of Kellog's organic vegetable fertilizer.

You can see that Felis catus "Oh So Helpful" did her part by keeping the bags from flying away

 Then the fun part came. I transplanted four tomatoes (roots and stems buried 12" min!), three blue annual salvias, two akashiso, two kale Dwarf Blue and a Marvel of Four Seasons lettuce. A few days later I exchanged the kale with nasturtium Alaskas when I was that's a no-no mix in my companion planting guide. There is still some space left along the front. I might put basil or chives from the LotB community garden project there, or onions and carrots... We will see.

I also used some plant markers I found at Ikea for the tomatoes. They are nice, two for a dollar :) I used paint markers, which come off with rubbing alcohol for next season, to write the varieties.


I'm very happy with this project. Thanks Da!

*update*
Here's an October 2011 photo. The fall plants are growing in well, and the cast iron wall ornament I found at a yard sale completes it :)

*UPDATE 1/4/12*
I'm entering this project in the Not Just a Housewife's Best DIY Project of 2011 contest, please click the link below and vote for me!


Wednesday, April 20, 2011

Mar Vista Garden Showcase

Next weekend on Saturday, April 30th is the Mar Vista Green Garden Showcase. If you are in or near LA County with would be an awesome day event for you running from 11am to 4pm and it's FREE!

They have multiple tours going on focused on different aspects of green gardening like native planting and solar power. If you click on the different tour maps it has lists of the gardens included and each one's special features so you can plan what you really want to see ahead of time! (so kind, thank you!) It seems many of the home garden in the tours have been featured in Sunset and other gardening mags, including this one that was in the LA Times.

I think I am going to skip my city's Youth Day Parade this year to check it out! And I think I'll be riding my bici through.... any other LA gardeners wanna meet up and join me?!

Tuesday, January 25, 2011

Cooking Up Some Compost

I'm still pathetic at taking progress photos. Usually I'm halfway through something before the idea of a camera even surfaces... so sorry there's not a full start to finish illustration here.

Anyway, Finally made a compost bin in the beginning of November 2010 (yes, composting the Halloween pumpkins was the final push). I, uh, "comandeered" a lonely unused plastic trash bin in the backyard for the proect. Very simple - just turned it upside down, cut the bottom off with an old bow saw, and put a cover on with one of the those swingy doors. I decided to set the bin upside down so that it's wider at the bottom and will be easier for me to lift off to get at the finished compost. A few days later I drilled some air holes in the sides with a 1/2" spade drill bit. Used stuff we had, cost me nothing but twenty minutes.


before I drilled the holes

I'm surprised how fast a compost bin can fill up, even from what I feel is a modest garden effort. Also surprising how fast the stuff starts compacting itself down as the process begins! Within two week it was filled to the brim from the last fall trimmings. A week later it had sunk down enough to add more trimmings. It sits near the kitchen door so scraps can go right in, and also near the gate to the front yard where the majority of composting material comes from.


Problem number one presented itself to me at that time and the bin was about two months old. Not enough air circulation at the bottom. I had made sure to put some woody zinnia stems at the bottom to help keep air flowing down there when I started adding material to the bin. But with all the green waste piling up in there and all insane rain we had squished it down and the woody stems got soggy and soft.


ew, anaerobic decomposition...not good.

My first day home I was compelled to fix it. Pulled everything out of the bin (interesting to see the progress of decay on the way down) till I got to the mucky stuff at the bottom and lifted the container off. Ew, it was stinky because no air was getting into it. Please note: the upper parts of the bin were fine, smells like earth and cut grass and stuff - that is good decomposition. That is how compost is supposed to be made. The stink at the bottom was my fault for not making sure enough air was circulating. Anyway, dad was starting to prune his roses that morning too so I had him save the branches and canes he pruned off for my bin. I broke them short enough to fit sideways into the bin and layered a bunch of them at the bottom to create airspace. Then I got some of the large leaves that hadn't broken down yet and made a thin layer on top the rose branches, then put everything back into the bin. I mixed all the materials up so the soggy stinky bits would air out quickly and the good bacteria would get back into them. I also drilled more holes near the bottom. About 30 minutes (minus rose pruning time).


ah, dad's roses were good for something besides making me bleed...

It was really interesting when I had emptied the bin out and could see how things were breaking down. The chunks of pumpkin (I'd broken it up into palm-sized pieces when tossing it in) where still chunks of...well they were still chunky. Very brown and gray and soft, but still recognizable. A couple of weeks after starting the bin my favorite Starbucks had given me I kid you not about 10 lbs of used coffee grounds. I put half in and gave the other half to Jean. I'd tried to sprinkle it all around evenly, but it sort of migrated to one spot and tricked me into thinking I had finished compost already. Well, I broke those clumps up and spread them around properly.


a decomposing medley of goodies :)

On to problemo number two - the compost suddenly stopped processing itself. I was getting used to filling the bin to the brim, then seeing the level drop over the week until there was a good space at the top to add more prunings the next weekend. After dealing with the soggy bottom the materials stopped compacting themselves for a couple weeks. Ah - moisture! Soon after the holidays the crazy rainy weather went away and we got our dry conditions back. Water wasn't getting in from the air holes in the sides or from the dirt under it, and I'd added more air holes, and I hadn't been watering the compost.  Ooooops. A couple of days of light sprays from the hose and a cup of water with the evening's kitchen scraps got things moving again. Five minutes for each spray down with the hose (gotta dig out the water gun head) and a minute to give it a glass of water.

Problem number three - unfortunately the convenient swingy door isn't working out. Because the bin is upside down the small end is at the top and the cover doesn't fit snuggly on it. SO when pushing the door open the whole cover sometimes slips and falls off. Also it makes access to the fresh stuff on top a snap for fruit flies and omg I'm sick of looking at mating fruit flies! Here see -


haha, made you look :9

So I took the fancy cover off and put the typical round metal lid you saw in the background in the first pic. The fly population immediately plummeted. There's still a few but less every day. I hope in summer when the sun rises so high the compost bin is in sun most of the day that it'll be too hot for the little bugger to even think of sneaking in. Two minutes to change the lid.

All seems hunky-dory now :)

So. Starting a compost bin -EASY!
Maintaining a compost bin - Easy! Yes, even after the blunders I made I still find it easy. All you have to do is make sure moisture and air are in balance and it takes care of itself. You'r gonna be pruning your plants, cutting grass and raking leaves anyway. Just as easy to put them in a compost bin as the green waste bin. If it gets out of balance you'll notice quickly enough and solutions to the problem are also simple. The longest time I spent fixing a problem was the 30 minutes to empty it, put down branches and refill it when if was too wet. That's not bad.

I supposed outside of an urban setting it might be more troublesome with some critters looking for food, but then you'd already be used to them eating your garden anyway.

It's been about three months now, I'm still waiting on my first batch of compost but it's winter so of course it's taking awhile to get going. What I want to do now it get a simple holding area made of wood stakes and wire mesh set up next to the compost bin. I'll put the compost out of the bin into there for 2-3 weeks to "age" before using it in the garden. Surfing the internet I found that in the last phase of breaking down the compost drops in temperature and can look like it's done. But if you put it into the garden during that time it drains out the nitrogen in the surrounding soil to fuel it's last few weeks of decomposition. Keeping it in a holding place while it does that should save my plants from burning or nutrient loss. I expect the holding area will take about a half hour to put together once I have the materials together.

I'm really glad I started this bin.

Thursday, January 13, 2011

Finally, Some Seed Bombs!

I seriously regret not getting this done back in November before the rains, but oh well. If anyone's curious a seed bomb is a pellet (or other fun shape) usually made of clay, compost and seeds. You can toss them into vacant/abandoned lots and other places that have been left to weeds and hopefully the seeds will germinate and prettify the landscape. Wish I'd known about this technique years ago, there are a few long time vacant commercial lots I'd always wanted to scatter seeds in, but didn't want to hop the fence and couldn't figure out how to toss the seed any distance. Mixing it with compost and clay solves the fence and distance problems.

You can find lots of different recipes on seed bombs at Guerillagardening.org, here and here :)

Last weekend I got together with Jean and we finally made them!


my conspirator, accomplice, partner! Jean and the flats we put the seed bombs in to dry out :)


 and some of our finished seed bombs
 (mine on left, Jean's on right)

As you can see, Jean wore gloves. I did not. Here soil balls came out much smoother than mine did (and she did not suffer so much from little bits of twig/stick in the compost poking her hands). I don't know if that will make a difference in the final product.

 I had printed up several recipes I found on how to make them which we basically ended up not using :9 We broke up clay from the soil in my yard into little bits. Then accidentally added an equal amount of compost from Jean's bin instead of 5:1 clay to compost most recipes were recommending. But it was actually holding together well and easily shaped. So then we said screw it let's do it this way and dumped in the California wildflowers seed large packet (it was probably around 14 grams like the B.I. large packets). Then we just rolled them into little balls. Simple.

We set them in two nursery flats Jean had to dry, I took one back home to my place. I don't think we really need to wait for them to dry out, they were holding together well and should fly over fields with ease. We did a second small batch with cosmo, marigold and.... I forget what other flowers :9 Jean help!

 The green bucket in the pics that looks full of dirt - that's not dirt. That's the 3 gallons of clay I dug up from the front border of my yard. I am glad that is out of the ground and I have space to mix in some nice compost (and maybe my border will grow in properly this year).

It really didn't take much in the way of raw materials. The green bucket with clay was filled to the brim when we started and you can see in the last pic we used very little of it, and add to that equal compost, then seeds. I think we each have about...4 or 5 dozen seed bombs. So simple. Why didn't we figure this out sooner?!

So this weekend I will be riding the neighborhood and going after the huge parking lot/dirt plot of the former Malibu Castle... mwuahahaha

THANKS JEAN!!! :) We must do this again.

Tuesday, September 21, 2010

I won Honey!!

It seemed like I'd entered nearly every garden blog contest I came across this summer - and finally a success! Two weeks ago I won The Dandelion Wrangler's Honey Give-Away :D !


And if that wasn't thrilling enough - the package arrived on dad's birthday! Just the person I intended to share it with <3


That really brightened the day for us :) Dad loves honey and as soon as I get a chance to cook up some buñuelos we're going to be testing the three flavors out!

Thank you so much Laura!!

Friday, September 10, 2010

Plotting a Harvest...?

The other day while taking a walk in the neighborhood I saw this:


And this:


These lovelies are growing in a fenced-in street "garden" in the front setback of a building supply storage yard. This one faces the major street and has a 6 foot iron fence around it. The "garden" on the minor street around the corner has a 4 foot fence. These planted areas are tended to once, maybe twice, a year and otherwise totally neglected.

If you haven't a clue why I'm excited by these cacti it's because in about a week the tunas (prickly pears) will be about ready for picking. I LOVE these fruits, they are juicy and flavorful and... YUMMAY. I got hooked on these the summer I stayed with relatives in Mexico where you can find them being sold all over the place. They aren't necessarily difficult to find stateside, but I don't often find the red ones.... Or free ones...

I am coveting them at this moment. I am tempted to just go by when they're ready withe gloves and a basket, but it seems wrong... Even if the owners/managers of the property don't care enough to tend these guys I should probably go in and ask... Uhg, I hear they aren't very friendly at this particular supplier... :/

Wednesday, August 25, 2010

Family Gardening Meeting in Lawndale

Had to renew a book (The Bountiful Container, this is the 5th time I've checked it out!) at the local library yesterday and noticed this flyer on my way out:


So if you're anywhere in or near the Southbay of Los Angeles you might want to come by and check it out!

Friday, July 16, 2010

Cloning Your Tomato Plant

Inspired by the Urban Organic Gardener, and continuing in the mad gardenist vein, I'm cloning a tomato plant! MWUAHAHAHAHAHAHA. I'd forgotten you can root tomato suckers, preferably the strong ones that you've missed pruning for a few weeks. This is also a way to get a FREE tomato plant and extend your harvest :) Here I'm rooting a Yellow Pear sucker... I think.... I'm pretty sure... I should've labelled the darn thing :/


To root suckers: pick a good one :9 One that looks fairly thick and strong, growing good looking leaves. Cut it from the parent plant as long as possible, removed the lower 2 or 3 leaf branches (NOT all of them, it will still need to photosynthesize). If it's already got flower/fruit clusters on it, snip them off so they don't divert energy from growing a root system. Place the sucker in water as deep as you can, without getting any leaves underwater. The stem will begin sprouting roots within a few days, it's cool to look at. make sure to keep the water as fresh as you can, change it every couple of days at least so it doesn't stagnate. After it's grown several new roots a couple inches long it can be transplanted. Put it as deep as you can into it's new soil, removing more leaf branches if they're going to be below the soil level. Any extra stem that is buried will also grow roots and create a stronger root system. Keep the soil moist of course, be prepared to baby the plant a few days until it's acclimated to its new home.

I've been told you can also dip suckers in rooting serum which is a hormone to super-stimulate new root growth and often used for woody cuttings like herbs, it will give the plant an extra boost to sprout roots more quickly. Never tried it myself, tomato suckers root well enough on their own that I don't feel like spending the $$ on it.

Tuesday, July 13, 2010

Dividing my Thyme

Dividing herbs is a task I've had in the back of my mind for a few weeks. It's typically supposed to be done in late fall or early spring so I hear, but my green children are in a healthy condition and I'd like to clone some of them. Actually I'd like to clone anything that doesn't require a lab, purchasing new equipment or cause protestors to hang out in front of my house :)


So there's my first vic.... *ehem* specimen, Lemon Thyme. As you can see its branches were already pretty well separated into two nearly equal portions - less work for me!


So here it is out of its original pot, and the two pots it's going to be divided and planted into.


The dividing was also easy since I did it when the roots had just started to reach the pot walls and wrap around. If it had been root-bound already I probably would have had to dig all over for a proper pruning saw. In this case I used the purty coping saw.


And there ya go, my fresh clones, two plants for the price of one! Thyme seems to have been a good choice, this was done about a week ago and both are doing great, no visible shock. I'll be giving one as a gift in the near future.

If anyones interested in which herbs are good for dividing or rooting cuttings from here's a good post on the topic by The Cheap Vegetable Gardener

Monday, July 12, 2010

Want to Adopt My Mums?

Last year I bought several mums for fall color in the yard. When we did the landscaping this year they were displaced. I'm going to get a couple of them back into the yard after some of the summer annuals die down. But there a couple that my mom and I have discovered we don't really care for. Nothing wrong with them, the colors just aren't doing it for us.

But alas I cannot kill these healthy little plants, so if there's anyone near the Southbay, CA area interested here they are:

This one is an odd sort of orangey color.

And this one is a rather nice dusty/mauve pink color. When the flower buds are first forming the color looks like it will be the same as the orange, but it changes to this as they open.

The plant tag didn't give the exact variety/cross that these are. The plants are about 12" now in the milk and ice cream cartons I've got them in. The other two I'm keeping are in larger containers and more like 16". They are very healthy plants and only need regular watering to be happ. The foliage is very attractive and evergreen here in southern California. This is a perennial plant that blooms twice a year - in late spring/early summer and fall.

Please contact me if you'd like to have them! FREE! I would love them to have a home where they are properly appreciated! Email me at sketchkat06 at gmail dot com (oh the need to avoid spam bots *sigh*)

Mary's Gardening Calendar